Table of Contents
In the world of culinary marketing, a picture truly is worth a thousand words. Food photography has evolved from a mere necessity to an art form that plays a pivotal role in attracting customers to your restaurant or food blog. In an era where social media platforms are saturated with visually appealing content, the ability to showcase your culinary creations through captivating imagery has become more crucial than ever.
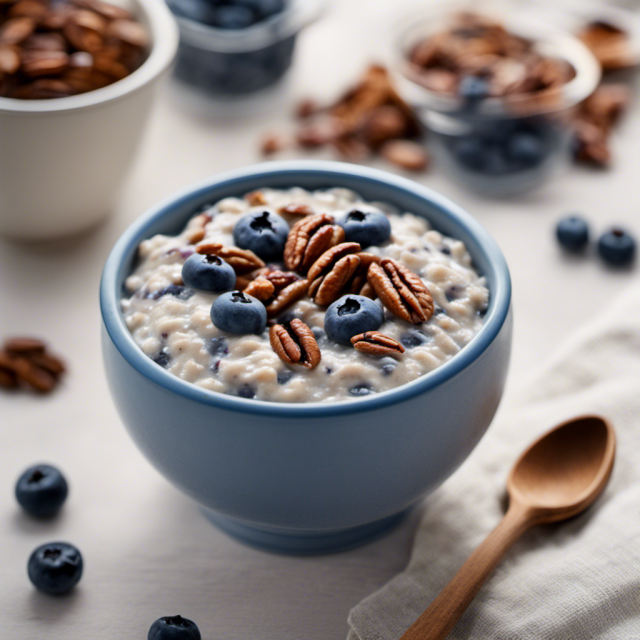
The old adage “people eat with their eyes first” couldn’t be more accurate in today’s digital age. Potential diners or blog readers are often drawn to a dish or recipe based on how it looks in photographs. A well-composed and beautifully lit food image can entice cravings, spark curiosity, and ultimately influence dining choices or recipe selections.
Let’s dive into the world of food photography and uncover the secrets to making your culinary creations shine through the lens.
1. Choosing the Right Equipment
Cameras and smartphones.
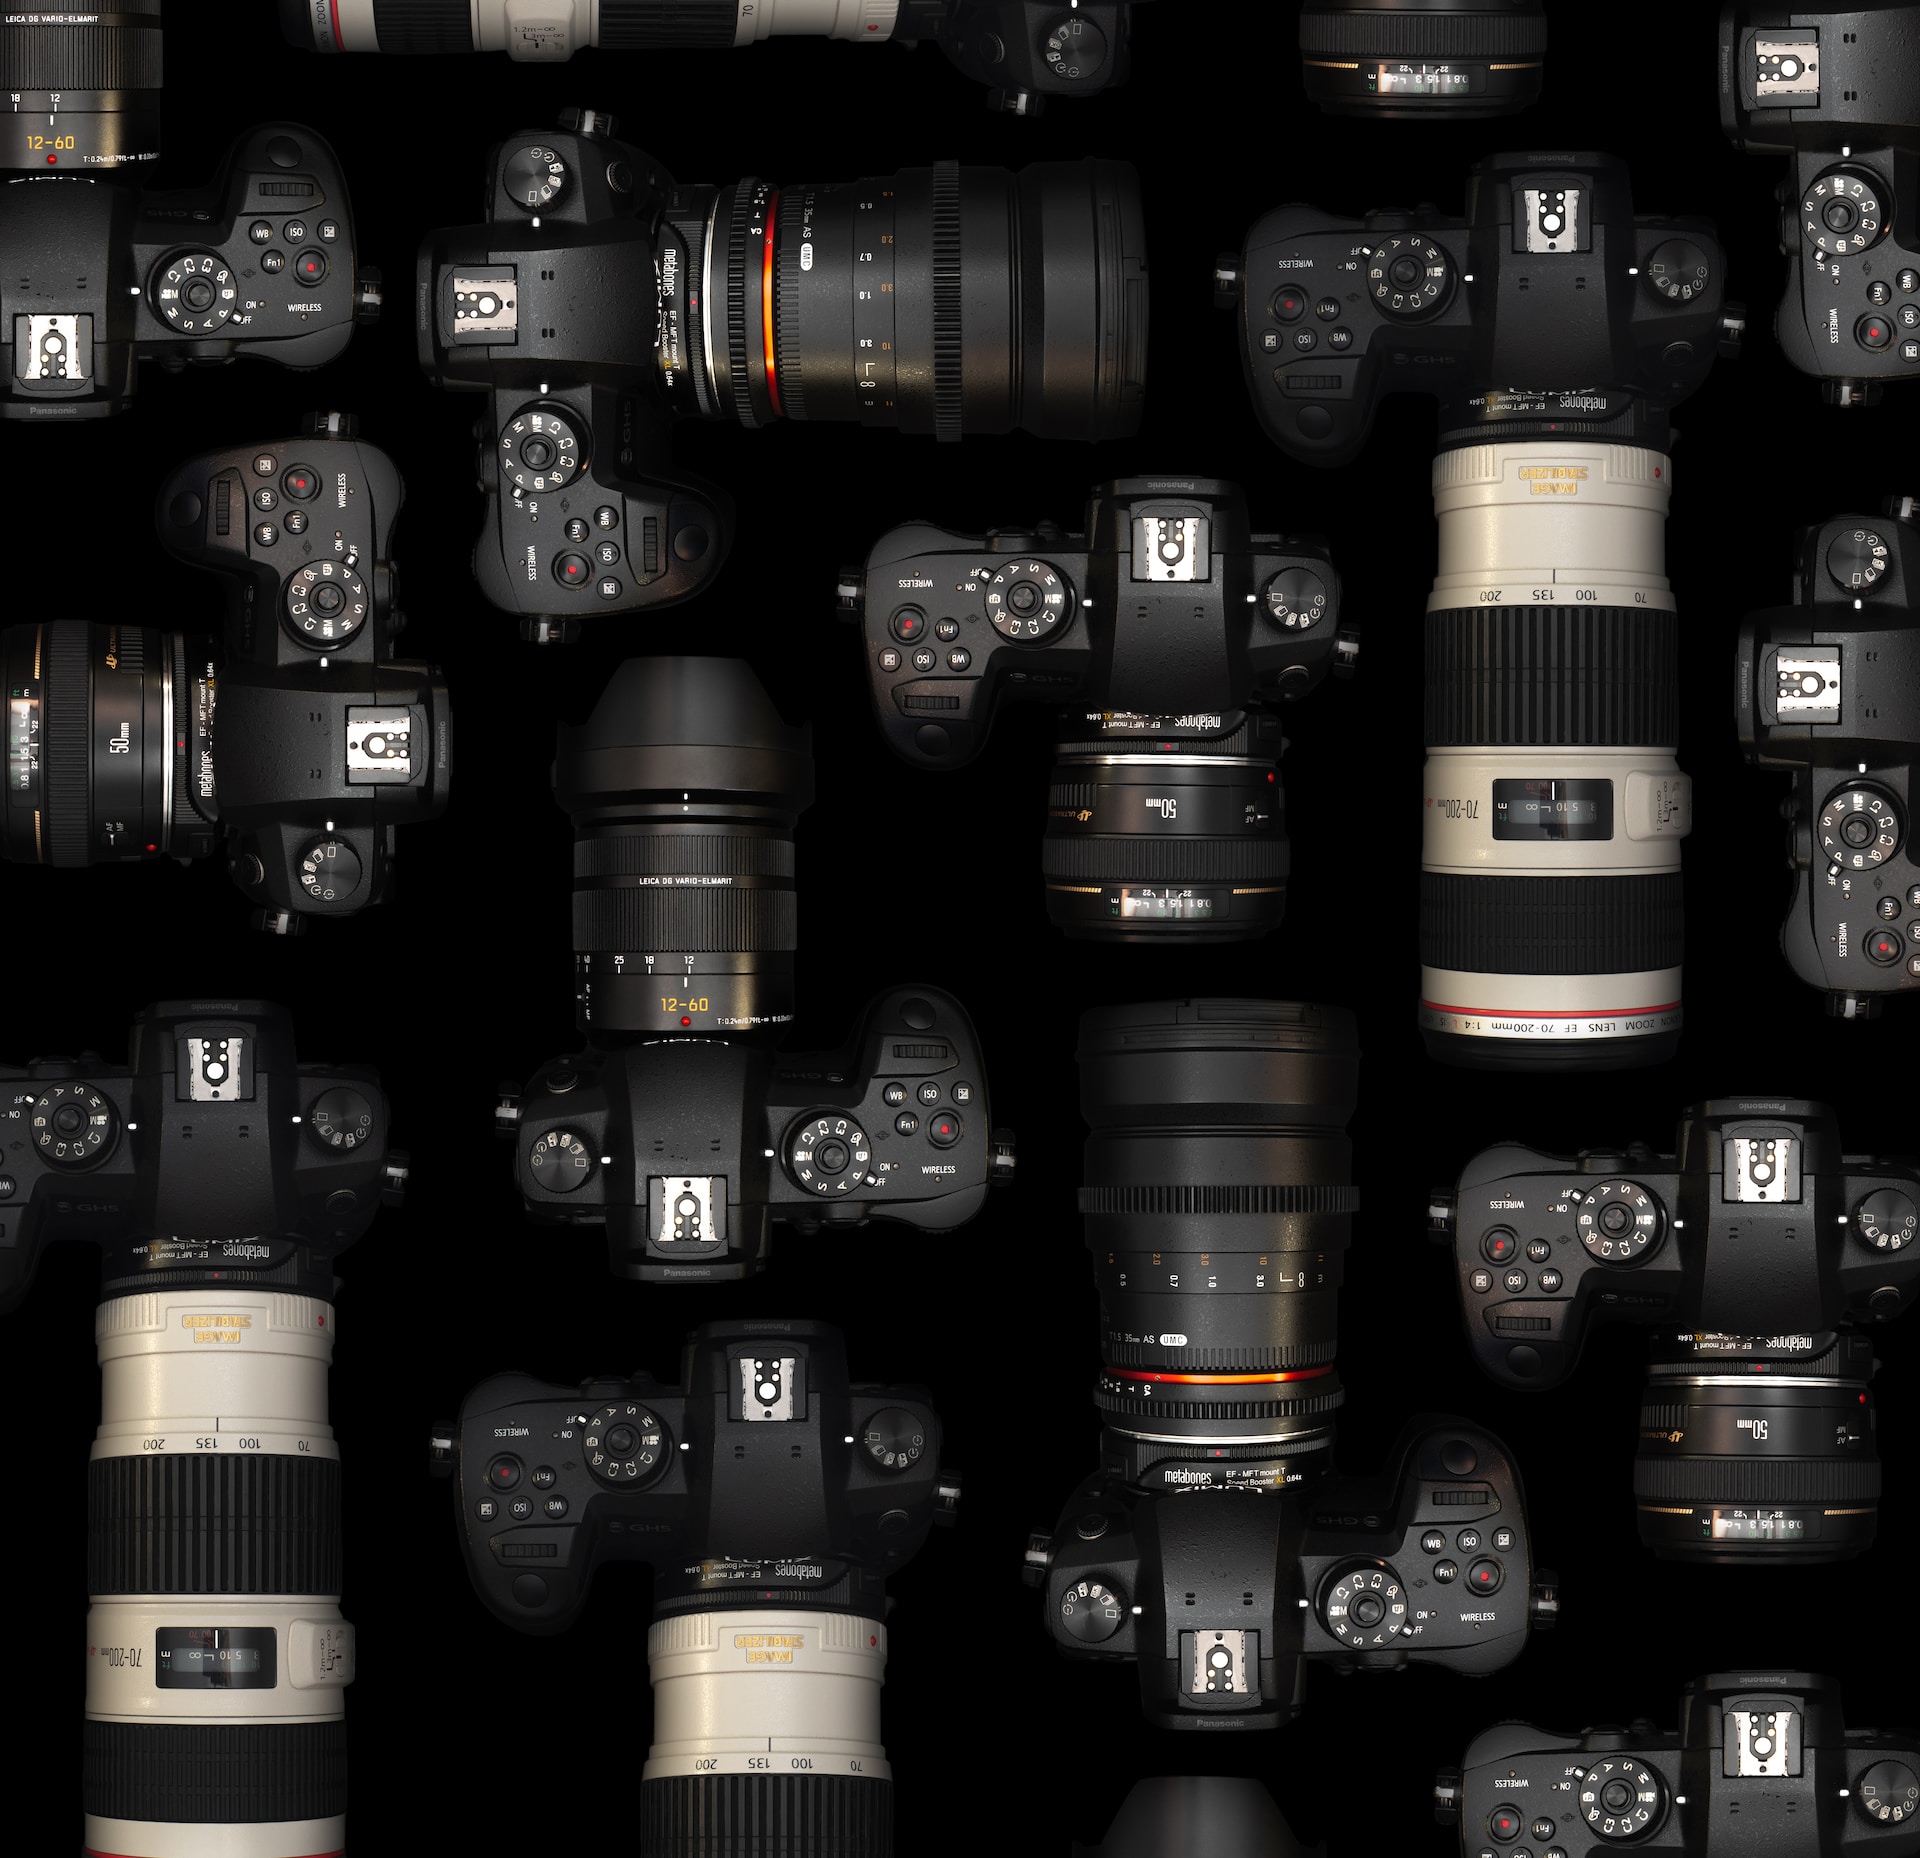
When it comes to food photography, the choice of equipment is crucial. While professional-grade cameras can provide exceptional results, you don’t necessarily need the most expensive gear to capture stunning food images. Let’s take a look at the two main categories of equipment:
Cameras
- DSLR Cameras: These offer the highest level of control over your photography, allowing you to adjust settings like aperture, shutter speed, and ISO. They are favored by professional photographers for their versatility and image quality.
- Mirrorless Cameras: These cameras are becoming increasingly popular due to their compact size and high-quality performance. They often feature interchangeable lenses and advanced features
Smartphones
- Modern Smartphone Cameras: The latest smartphones are equipped with advanced camera technology, including multiple lenses and AI enhancements. They can produce impressive food photos with minimal effort.
- Third-Party Camera Apps: Consider using third-party camera apps that provide manual controls, allowing you to fine-tune settings for better results.
Selecting the appropriate equipment
Choosing the right equipment largely depends on your skill level, budget, and specific needs. Here are some recommendations to help you make an informed decision:
For Beginners:
If you’re just starting, a modern smartphone with a good camera can be a great choice. They are convenient and can produce high-quality images with minimal setup. Experiment with third-party camera apps that offer manual controls to learn the basics of photography.
For Enthusiasts:
Consider investing in a mirrorless camera if you want to explore advanced photography techniques and have room for growth. Research different camera models and lens options to find a combination that suits your style and budget.
For Professionals:
DSLR cameras with a range of lenses provide the highest level of control and image quality for professional food photography. Invest in prime lenses with wide apertures (e.g., 35mm f/1.4) for achieving that beautiful background blur (bokeh) in food photos. Remember, the best camera is the one you have access to and are comfortable using. With practice and an understanding of photography principles, you can capture exceptional food images regardless of your equipment.
2. Mastering Lighting Techniques
Importance of good lighting in food photography.
In the realm of food photography, lighting is nothing short of the magic wand that transforms a simple dish into a mouthwatering masterpiece. Understanding and mastering lighting is absolutely crucial for capturing the essence and appeal of your culinary creations. Here’s why good lighting is paramount:
1. Highlights Texture and Details: Proper lighting brings out the textures and intricate details of your food, making it look more appetizing and inviting.
2. Sets the Mood: The quality and direction of light can convey different moods. Soft, diffused light can create a cozy, warm ambiance, while harsh light may evoke a vibrant, energetic feel.
3. Defines Shape and Depth: Lighting helps define the three-dimensional aspects of your subject, adding depth and dimension to your food photos.
4. Enhances Colors: Correct lighting ensures that the colors in your food appear true to life and vibrant.
Tips for natural and artificial lighting setups.
Natural Lighting:
-
- Use Soft, Diffused Light: Shoot near a window with indirect sunlight, or on an overcast day, to achieve soft, even lighting without harsh shadows.
-
- Diffusers and Reflectors: Employ diffusers (white curtains or sheets) to soften harsh sunlight and reflectors (white foam boards) to fill in shadows gently.
-
- Golden Hour: For warm, inviting photos, try capturing your food during the golden hours of sunrise or sunset when the light is soft and flattering.
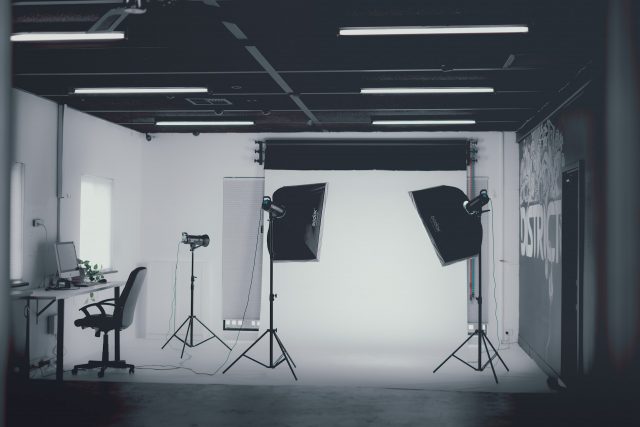
Artificial Lighting:
-
- Continuous Lighting: Invest in softboxes, LED panels, or ring lights to create consistent and controlled lighting conditions. These are especially useful for indoor food photography.
-
- Adjustable Intensity: Use lighting with adjustable intensity settings to customize the level of brightness.
-
- Experiment with Angles: Position your artificial light source from various angles to create different effects and highlights.
Balancing Natural and Artificial Light:
-
- Combination Lighting: Sometimes, combining natural and artificial light can yield stunning results. For instance, you can use a window as your primary light source and add a softbox to fill in shadows or create highlights.
Remember, practice is key to mastering lighting in food photography. Experiment with different setups, angles, and types of light until you achieve the desired look for your specific dish and style. Over time, you’ll develop an intuitive sense of how to make the most of any lighting situation.
3. Composition and Styling
The principles of composition in food photography.
In food photography, composition is the art of arranging elements within the frame to create visually appealing and captivating images. Understanding and applying the principles of composition can transform a simple dish into a work of art. Here are some key principles to consider:
-
- Rule of Thirds: Divide your frame into a 3×3 grid and place the main subject or focal point at the intersections of these lines. This adds balance and interest to your photo.
-
- Leading Lines: Use lines, such as utensils, table edges, or food elements, to guide the viewer’s eye towards the main subject.
-
- Symmetry and Asymmetry: Create a sense of balance by either centering your subject for symmetry or placing it off-center for a dynamic, asymmetrical composition.
-
- Negative Space: Leave empty space around your subject to emphasize it and create a clean, uncluttered look.
-
- Depth and Layers: Add depth to your composition by including foreground and background elements. This gives your photo a sense of dimension and draws the viewer in.
Techniques for styling and arranging food for appealing photos.
-
- Select Props Wisely: Choose props like tableware, utensils, and napkins that complement the mood and style you want to convey. Keep them simple to avoid distracting from the food.
-
- Garnish Thoughtfully: Use fresh herbs, sauces, or spices as garnishes to add color, texture, and visual interest to your dish.
-
- Play with Textures: Incorporate various textures in your composition, such as rough, rustic backgrounds for contrast with smooth surfaces like plates and utensils.
-
- Pay Attention to Colors: Consider color harmony and contrast when arranging your composition. Complementary colors can make your food pop.
-
- Use Visual Anchors: Place a visually striking element, like a prominently displayed ingredient or a focal point, to anchor your composition.
-
- Imperfection Can Be Perfect: Not every element has to be flawless. A crumb here or a spill there can add authenticity and a sense of naturalness to your photo.
-
- Capture Steam and Movement: For hot dishes, try to capture steam rising from the food or pouring sauces to convey freshness and a sense of being in the moment.
Remember that food styling and composition are highly subjective and can vary based on your personal style and the story you want to tell through your food photos. Practice, experimentation, and attention to detail will help you refine your skills in this essential aspect of food photography.
4. Food Presentation and Plating
The art of food presentation and plating for photography.
The presentation and plating of food are pivotal in the world of food photography. How your dish is arranged and styled on the plate can make a significant difference in the visual appeal of your photographs. Here’s why it matters:
-
- Aesthetic Appeal: Well-plated dishes are visually enticing and immediately catch the viewer’s eye.
-
- Storytelling: Plating can help convey the narrative or concept behind the dish, adding depth and context to your food photos.
-
- Highlighting Key Ingredients: Strategic placement of ingredients can emphasize the star components of your dish.
-
- Balance and Harmony: Proper plating ensures a harmonious balance of colors, textures, and shapes in the frame.
-
- Depth and Layers: Layering elements creates depth and adds dimension to your food photos.
Techniques to make food look more appetizing.
-
- Use Contrasting Colors: Pair foods with contrasting colors to make them stand out. For example, a bright red sauce on a green plate creates a visually striking effect.
-
- Keep it Simple: Avoid clutter on the plate. A minimalist approach often works best, allowing the focus to remain on the main dish.
-
- Pay Attention to Balance: Arrange elements symmetrically or asymmetrically, but always maintain a sense of balance within the frame.
-
- Mind Portion Sizes: Portion your dish appropriately for the plate, ensuring it looks abundant and satisfying.
-
- Freshness is Key: Use fresh ingredients and ensure they are cooked to perfection. Undercooked or overcooked food can be less appealing in photos.
-
- Add Garnishes: Sprinkle fresh herbs, microgreens, or grated cheese as garnishes to add color, texture, and a sense of freshness to your dish.
-
- Capture Movement: Show sauces being drizzled, cheese being grated, or a fork cutting through the dish to create a sense of action and appetite appeal.
-
- Use Appropriate Plates and Utensils: Select dishes, bowls, and utensils that complement the style and cuisine of the food.
-
- Consider Background and Props: Choose backgrounds and props that enhance the theme and mood of your food photo.
Remember that food presentation and plating can vary greatly depending on the type of cuisine you’re photographing and the story you want to tell. Experiment with different plating techniques and styles to find what works best for your specific dishes and photography style.
5. Editing and Post-Processing

The basics of editing food photos.
Once you’ve captured your food photos, the journey doesn’t end there. Editing and post-processing are essential steps in enhancing the visual appeal and overall quality of your images. Here are some basic editing principles to consider:
1. Color Correction: Adjust the color balance to ensure that the colors in your photo appear true to life. Correct any color casts that may have occurred due to lighting conditions.
2. Exposure and Contrast: Fine-tune the exposure to balance highlights and shadows, ensuring that details in both bright and dark areas are visible. Adjust contrast to add depth to your photo.
3. Sharpness and Clarity: Enhance the sharpness of your food subject to bring out textures and details. Be cautious not to over-sharpen, which can result in unnatural artifacts.
4. Cropping and Composition: Crop the image if necessary to improve composition or remove distracting elements from the frame. Ensure that the main subject remains the focus.
5. Saturation and Vibrance: Adjust saturation and vibrance to make the colors pop without making them look overly saturated or unnatural.
6. White Balance: Fine-tune the white balance to achieve the desired warmth or coolness in your photo.
7. Noise Reduction: If your photo has digital noise (graininess), apply noise reduction techniques to smoothen the image.
Recommend software and tools for post-processing.
Several software applications and tools are available for editing and post-processing food photos, catering to different skill levels and preferences. Here are some popular options:
1. Adobe Lightroom: This versatile software offers a wide range of editing tools for color correction, exposure adjustments, and more. It’s commonly used by professional photographers.
2. Adobe Photoshop: Ideal for more advanced editing, Photoshop allows for precise control over every aspect of your image, including retouching and manipulation.
3. Capture One: Known for its exceptional color grading capabilities, Capture One is a favorite among professional photographers for its powerful editing tools.
4. Snapseed: A free mobile app that offers a range of editing tools and filters for quick and easy adjustments on the go.
6. Canva: A user-friendly online tool that simplifies photo editing and offers a range of design templates for creating social media posts and marketing materials.
Select the post-processing software or tool that aligns with your skill level and editing requirements. Keep in mind that editing should enhance your photos while maintaining their authenticity. Practice and experimentation will help you develop your editing skills over time.
Conclusion
- Choosing the Right Equipment: Select the camera or smartphone that suits your skill level and needs, whether you’re a beginner, enthusiast, or professional.
- Mastering Lighting Techniques: Understand the importance of lighting and how to use both natural and artificial light effectively.
-
Composition and Styling: Learn the principles of composition and how to style and arrange food for visually appealing photos.
-
Food Presentation and Plating: Discover the art of plating and presentation, enhancing the visual appeal of your dishes.
-
Editing and Post-Processing: Dive into the world of post-processing to fine-tune and enhance your food photos.
As restaurant owners and bloggers, you now have the tools and knowledge to harness the power of food photography for your marketing endeavors. Applying these tips can have a profound impact on how your culinary creations are perceived and received by your audience.
Remember that great food photography is an investment in your brand’s image. It can entice diners to visit your restaurant, engage with your food blog, and make informed dining choices. By showcasing your dishes through captivating imagery, you can tell a visual story that resonates with your audience and leaves a lasting impression.
Moreover, for those on a budget or seeking a quick and cost-effective alternative, consider exploring AI-generated food images. Platforms like foodpix.ai can generate high-quality food photos from text descriptions. It is a viable and affordable option for those who may not have access to professional photography equipment or skills.